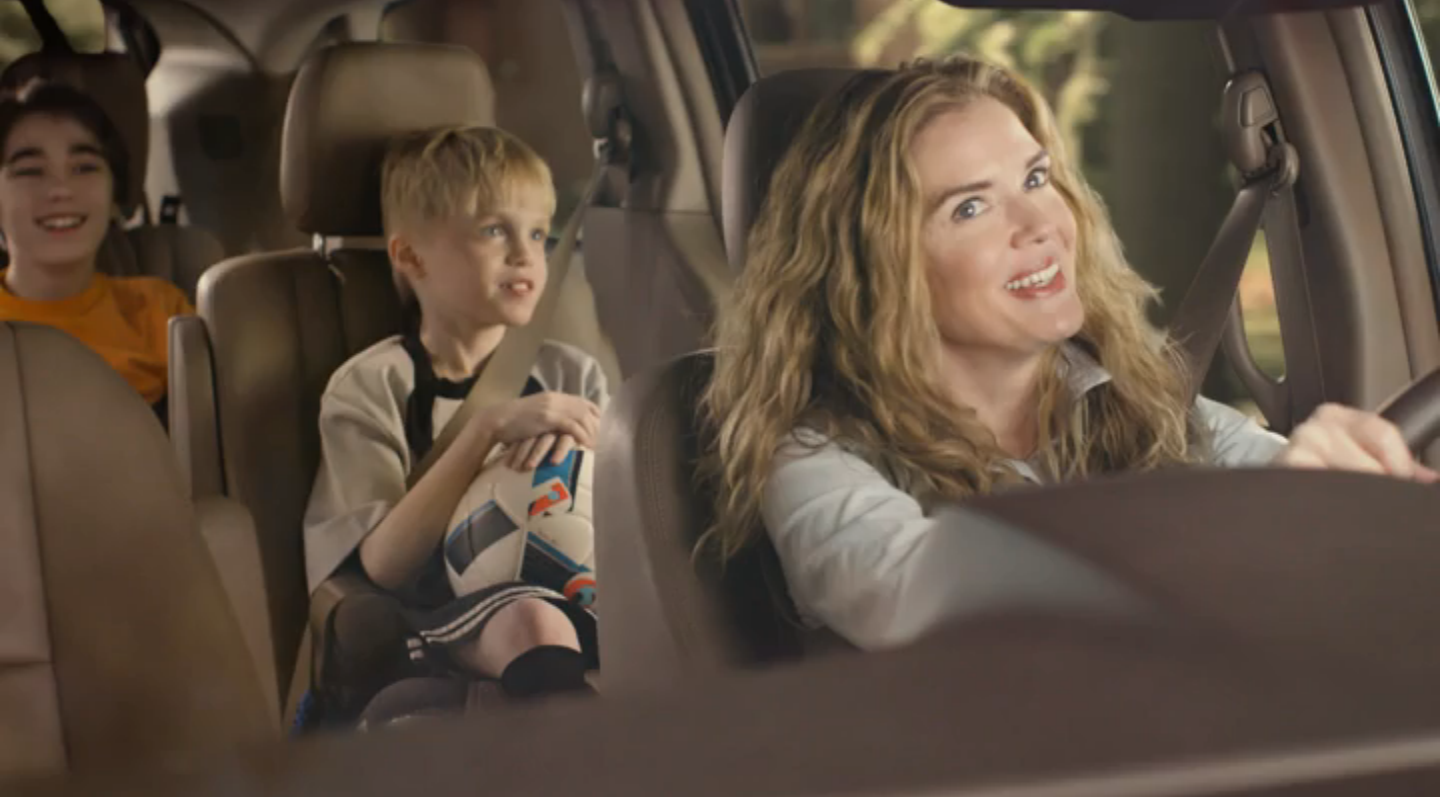
How to Shoot Green Screen Outside of a Studio
A Case Study On Producing Visual FX in a Pinch
In our little corner of the advertising universe; where somehow we're inexplicably paid to tell stories, hang out with awesome creative collaborators on set, and make visual magic in front of souped-up post-production computers; things rarely go as smoothly as we would prefer. These are the realities of the video production process when creating commercial advertising campaigns for agencies and brands.
But this was worse than normal.
This was "Act of God" not normal. Our client, one of the nation's largest Credit Unions in the financial services sector, is headquartered in Michigan. They needed a new commercial advertising their auto-loan services, and the creative called for multiple driving scenes.
Did we mention the shoot was in Michigan, and it was February 9th? Normally no big deal, we had planned for some white stuff outside and some creative angles to not-feature anything cold, snowy, or otherwise screaming "Winter."
But this was worse than normal.
The weather forecast called for sun, snowfall of less than 1-inch, and moderately normal temperatures. We had a short window to shoot within, and this day was definitely the best day, on paper, that we could plan. We had a crew of 10+ who came in the night before, and we could all sense the weather was going to be an issue. A big issue.
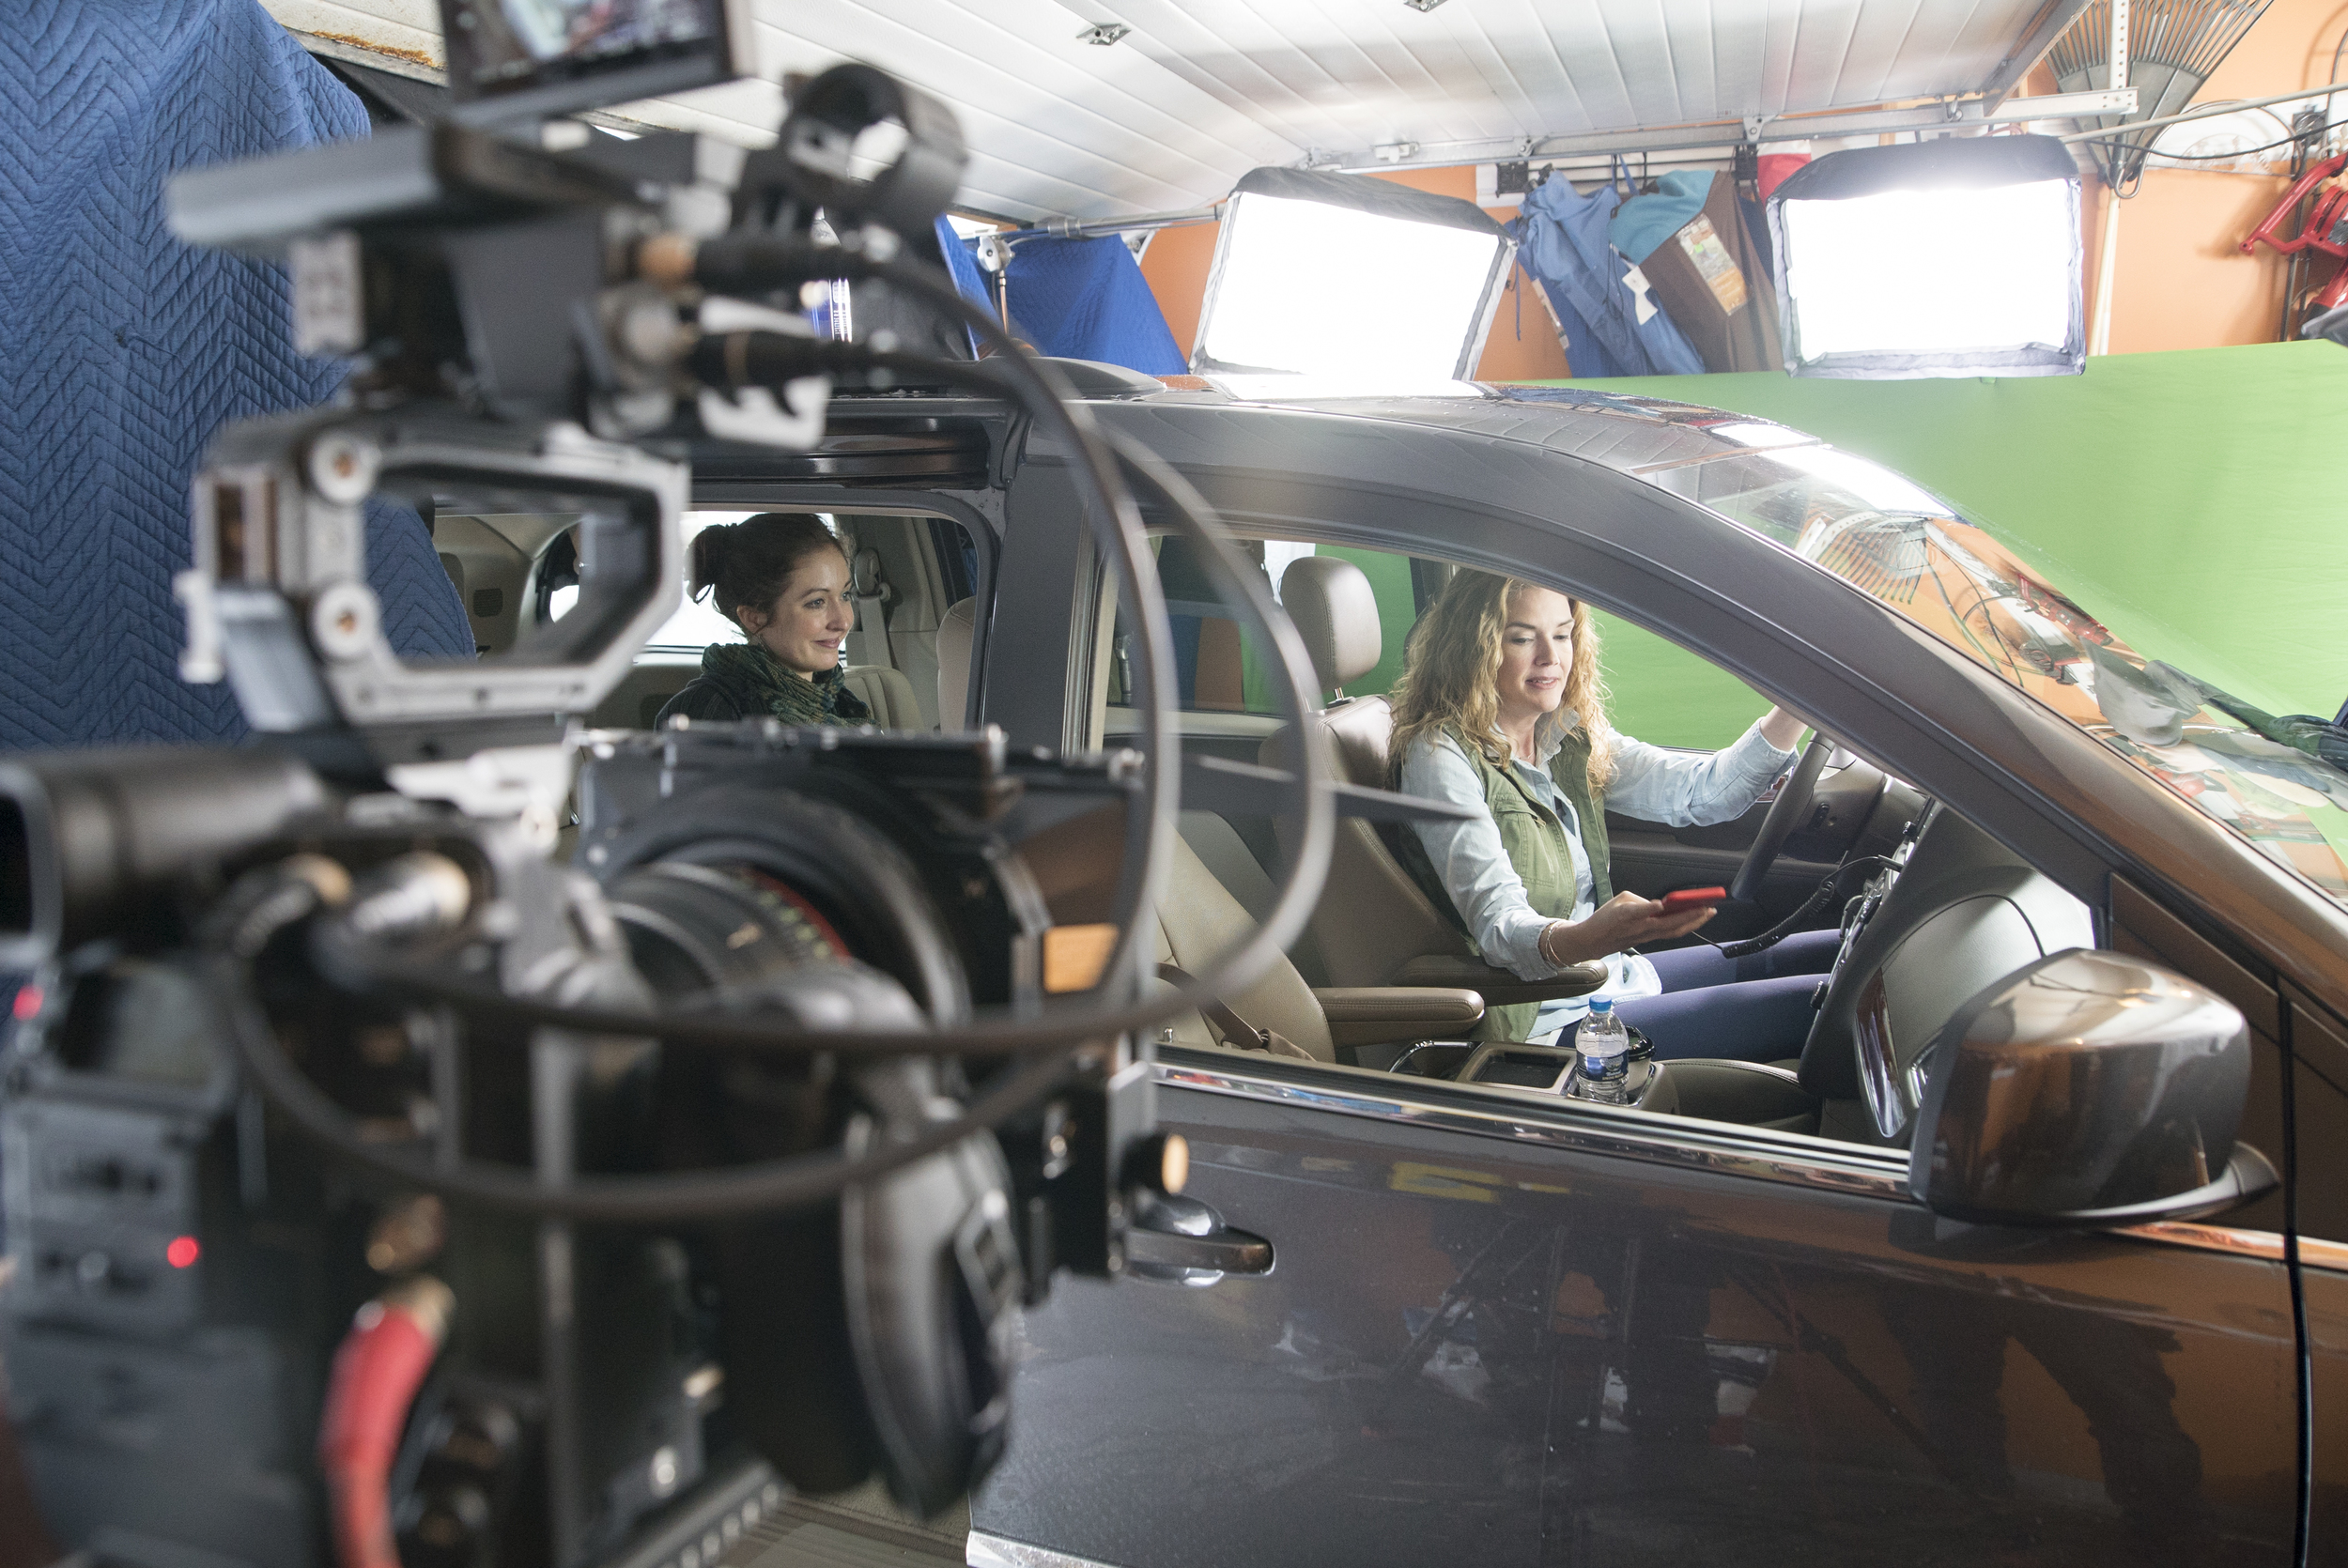
When we woke up and drove to set, the wind was blowing sideways. and not just clear wind, this was wind that was full of snowfall. Lots of snowfall. The temperatures were icy, and our grips had no shelter to rig the driving car. So we decided to make the call. We could either cancel the shoot, or we could shoot green-screen.
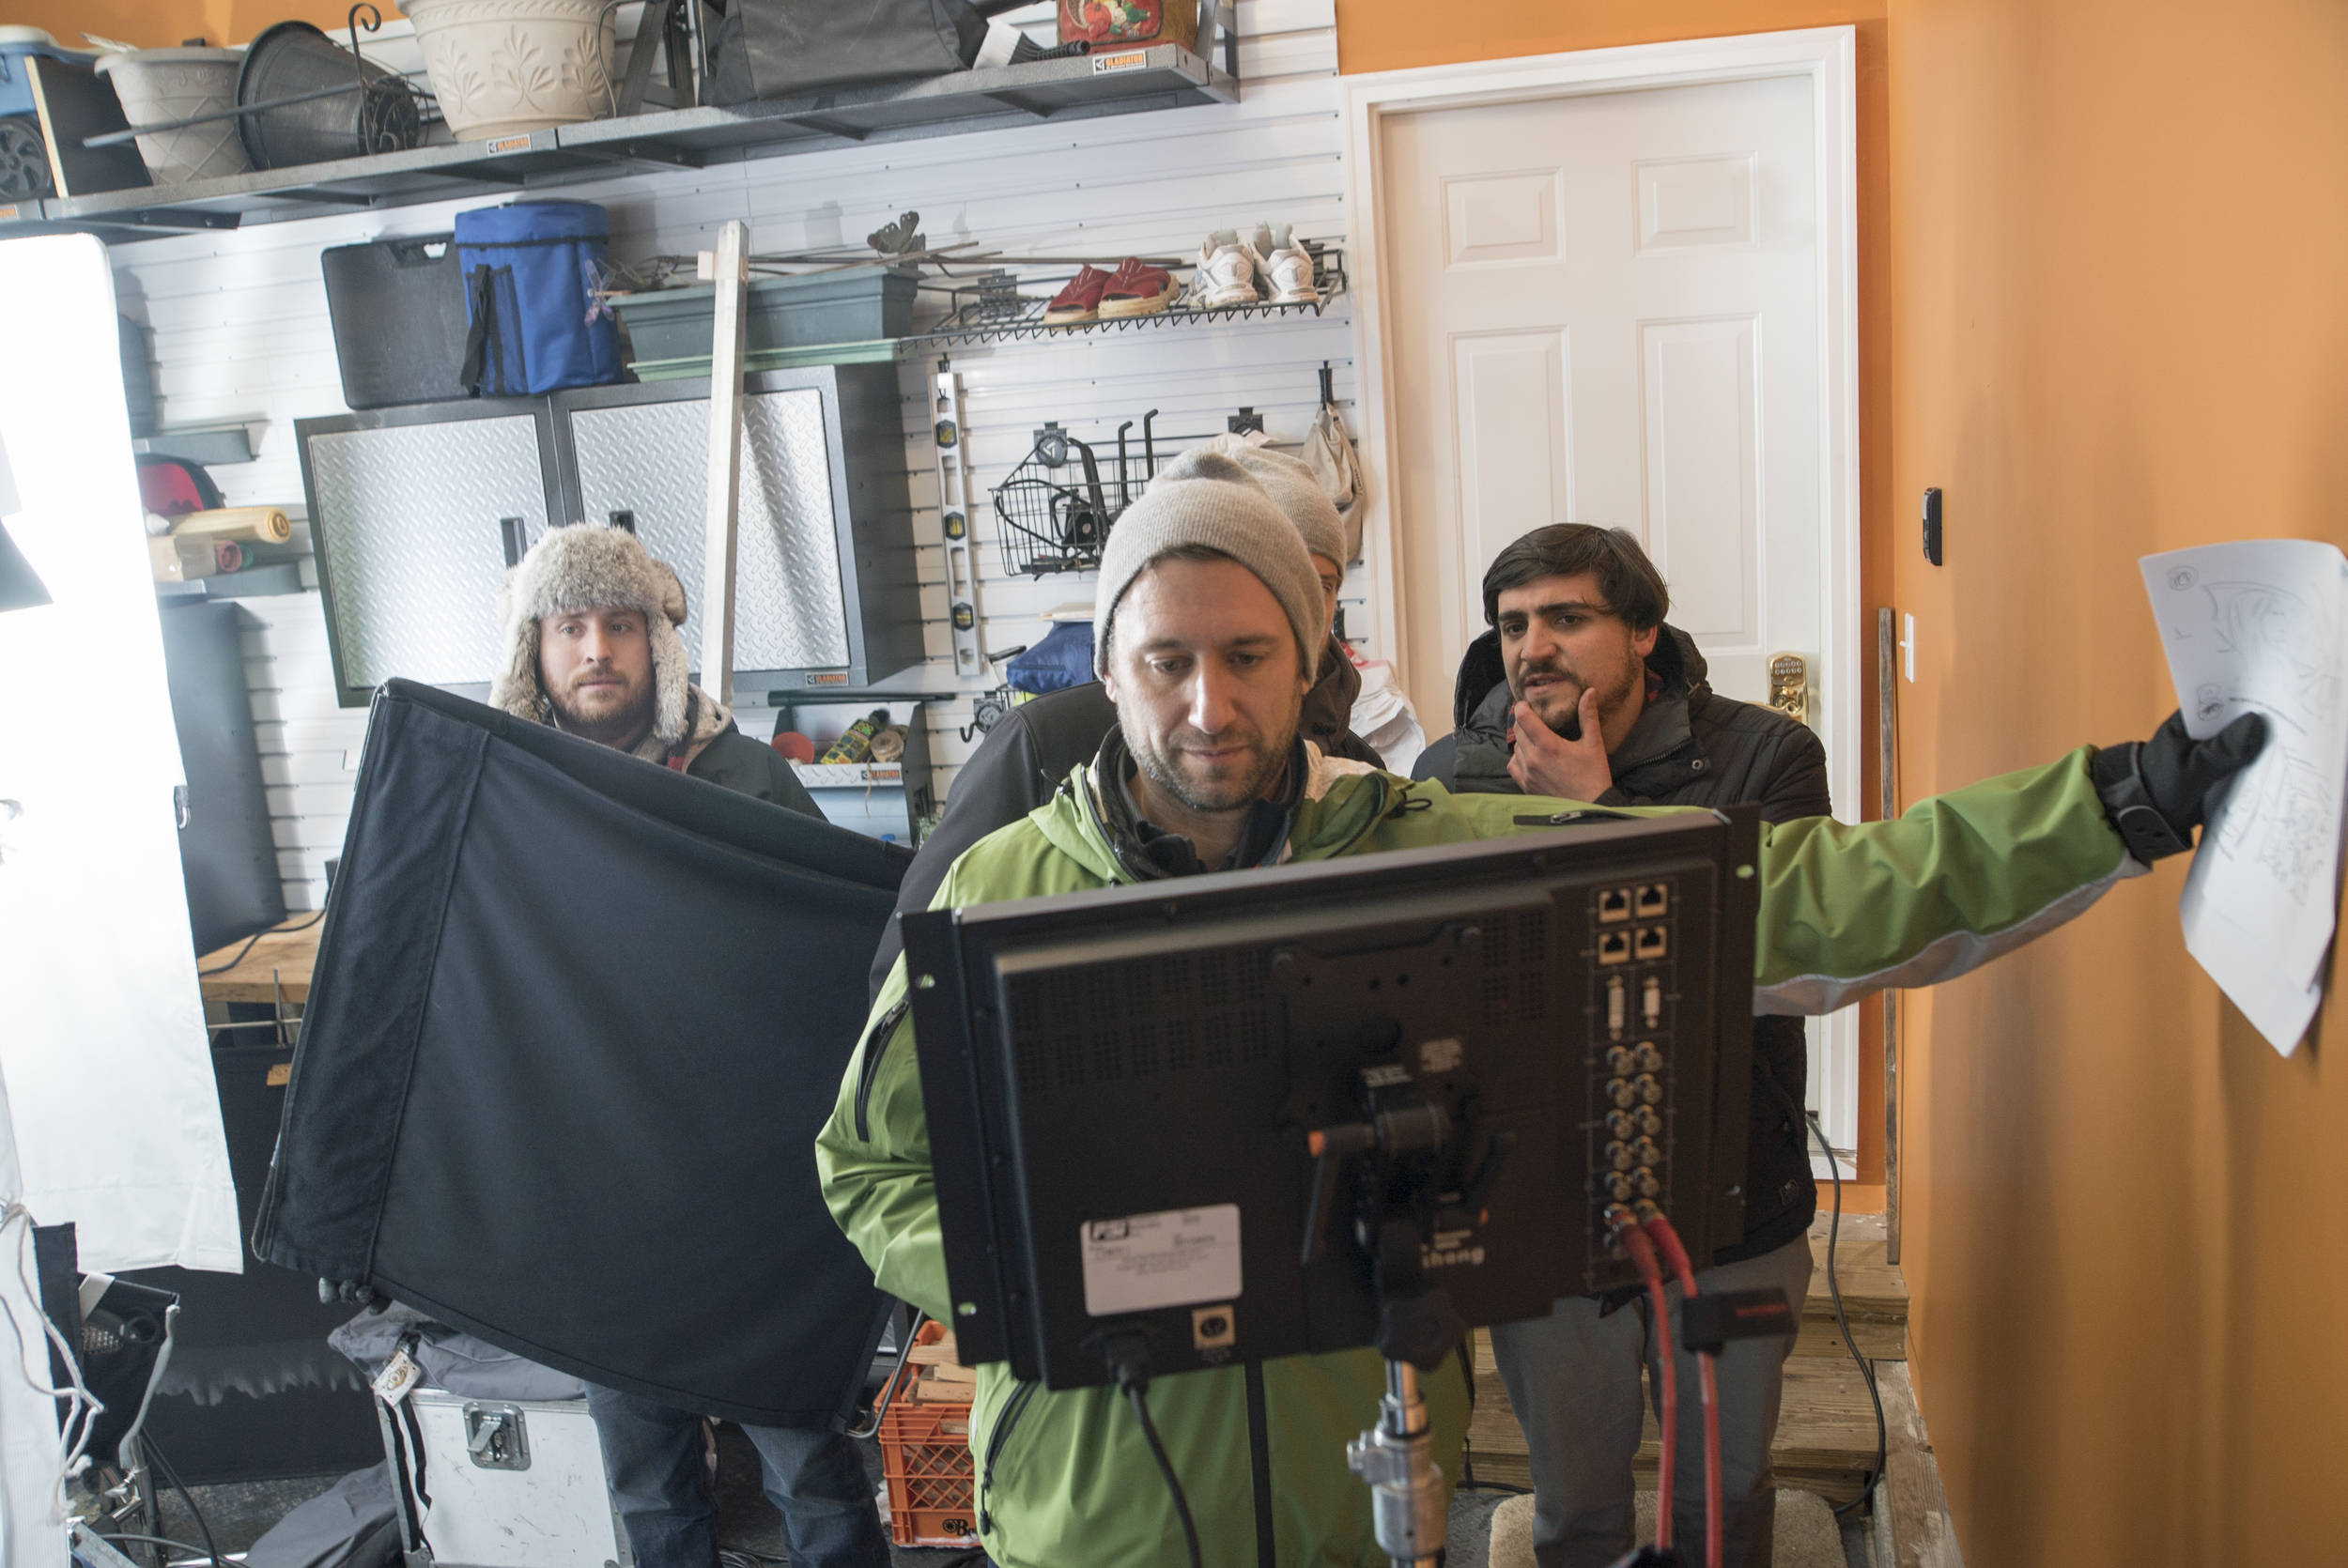
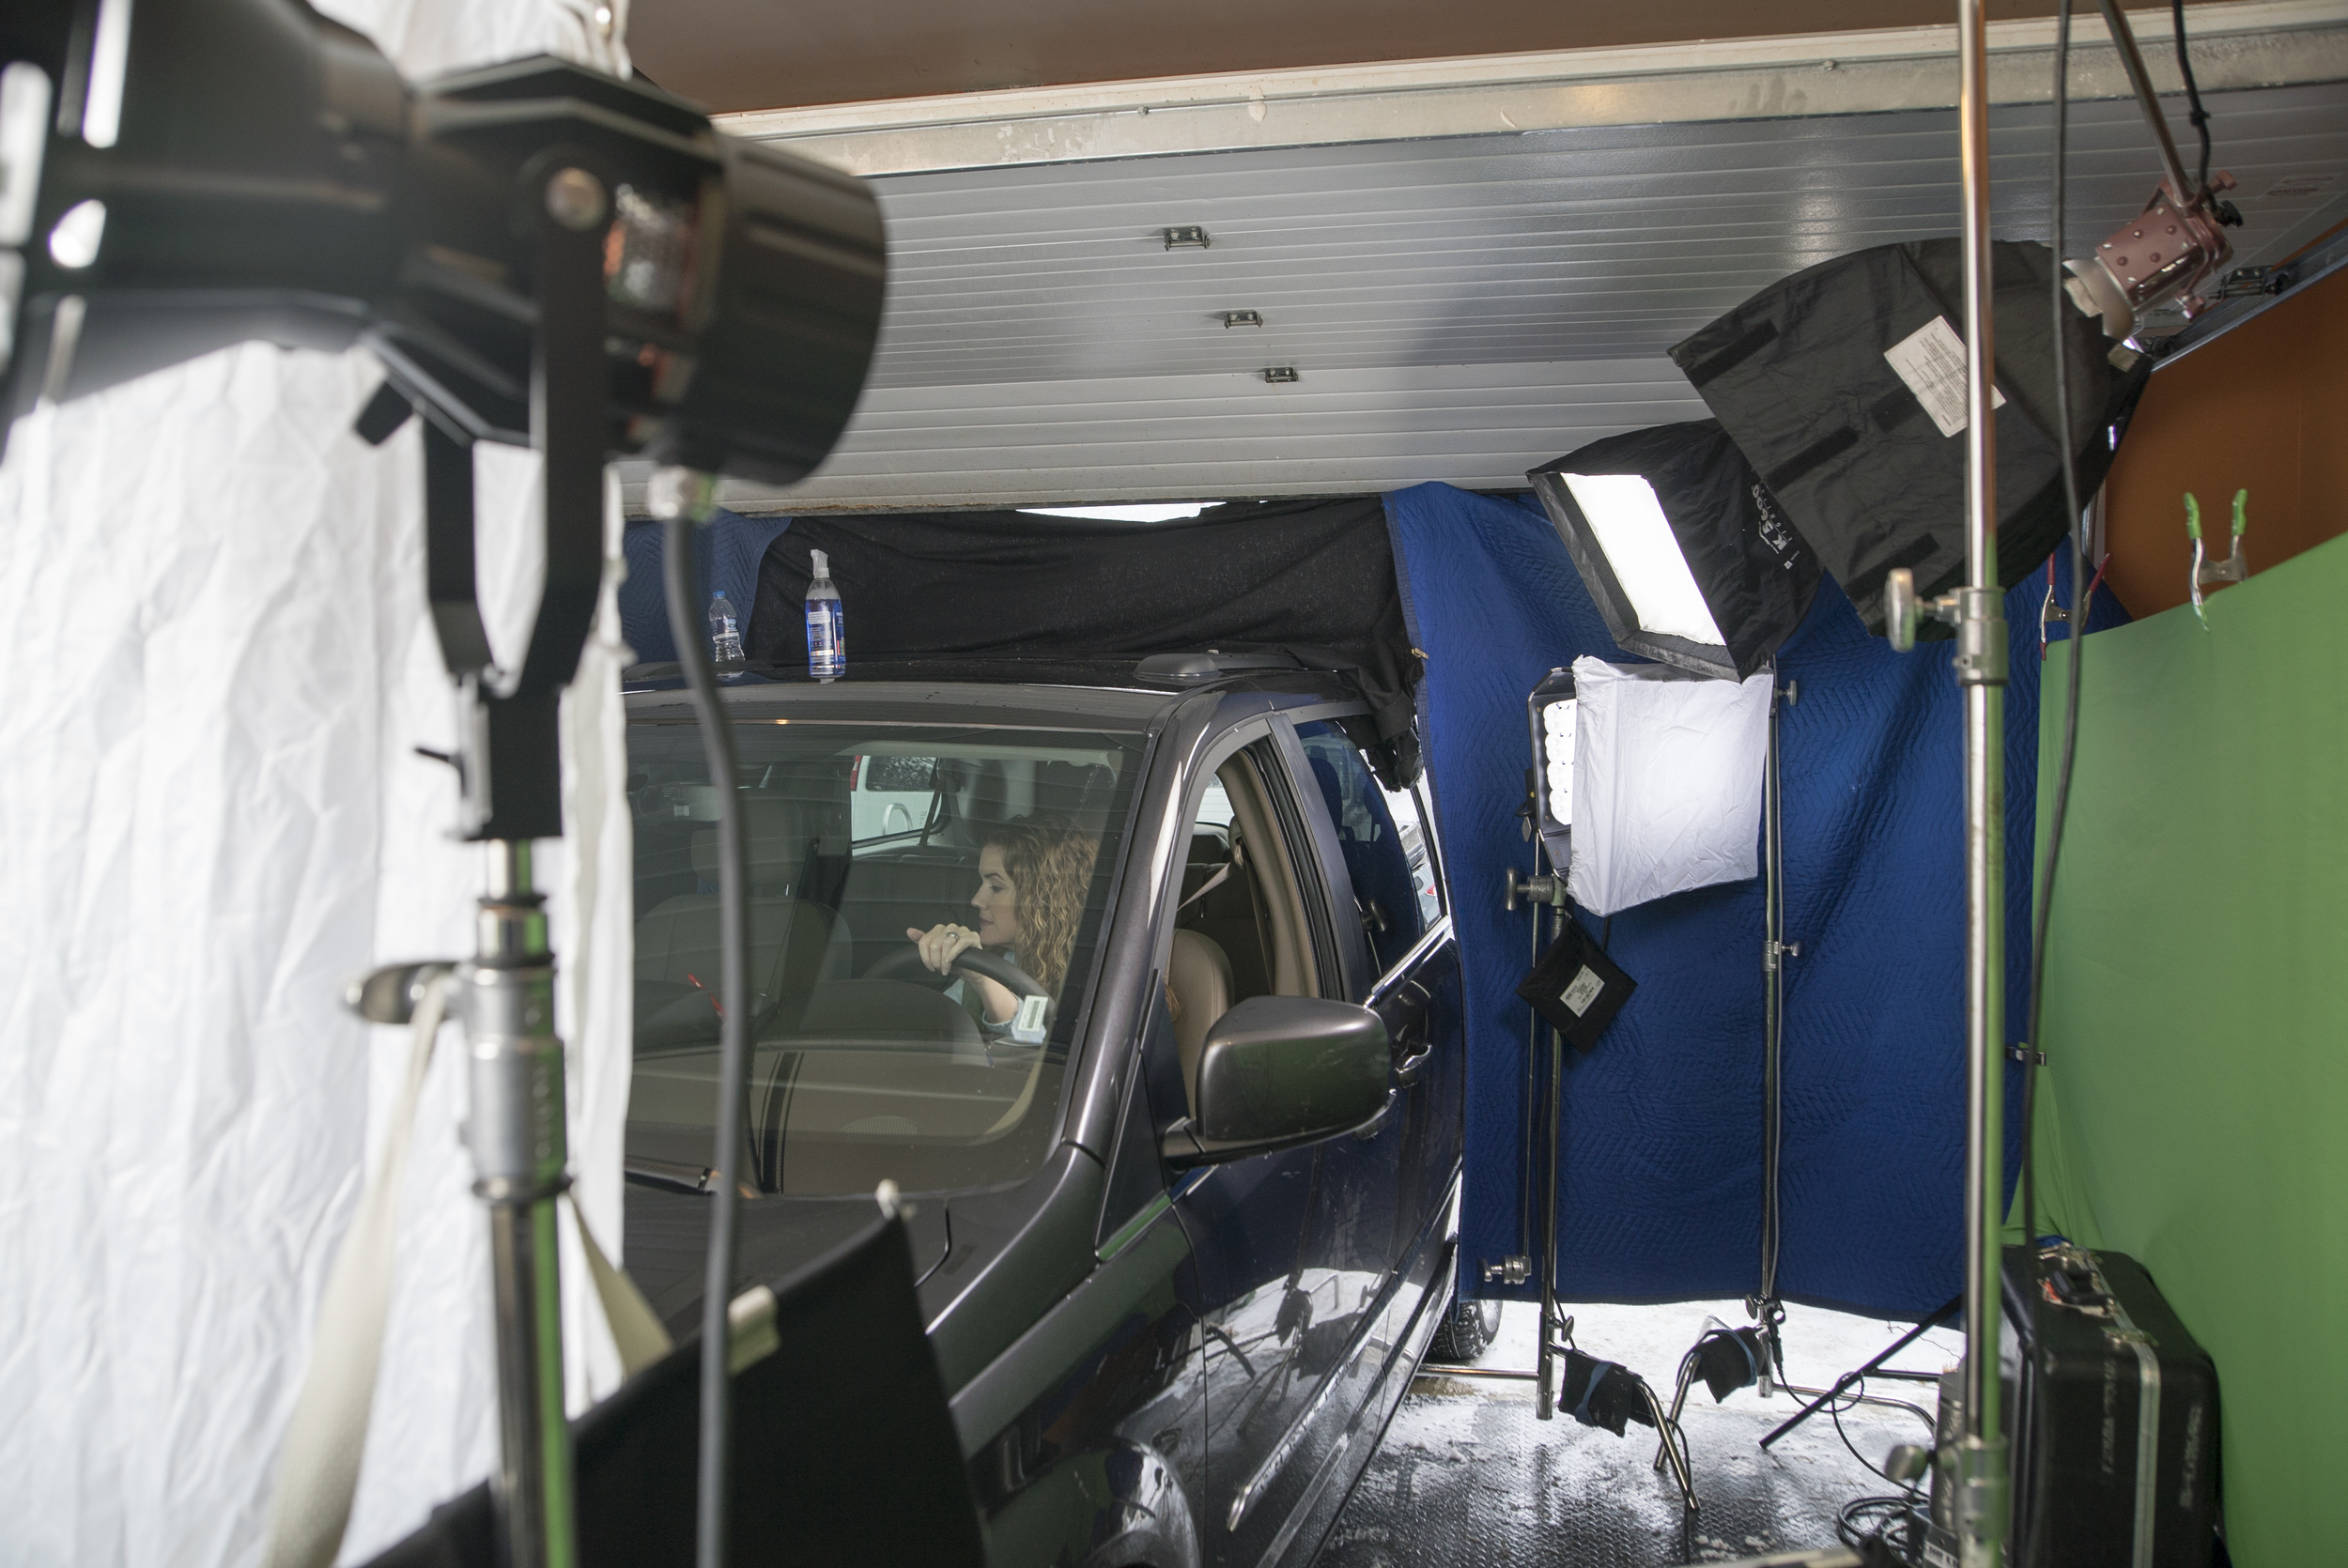
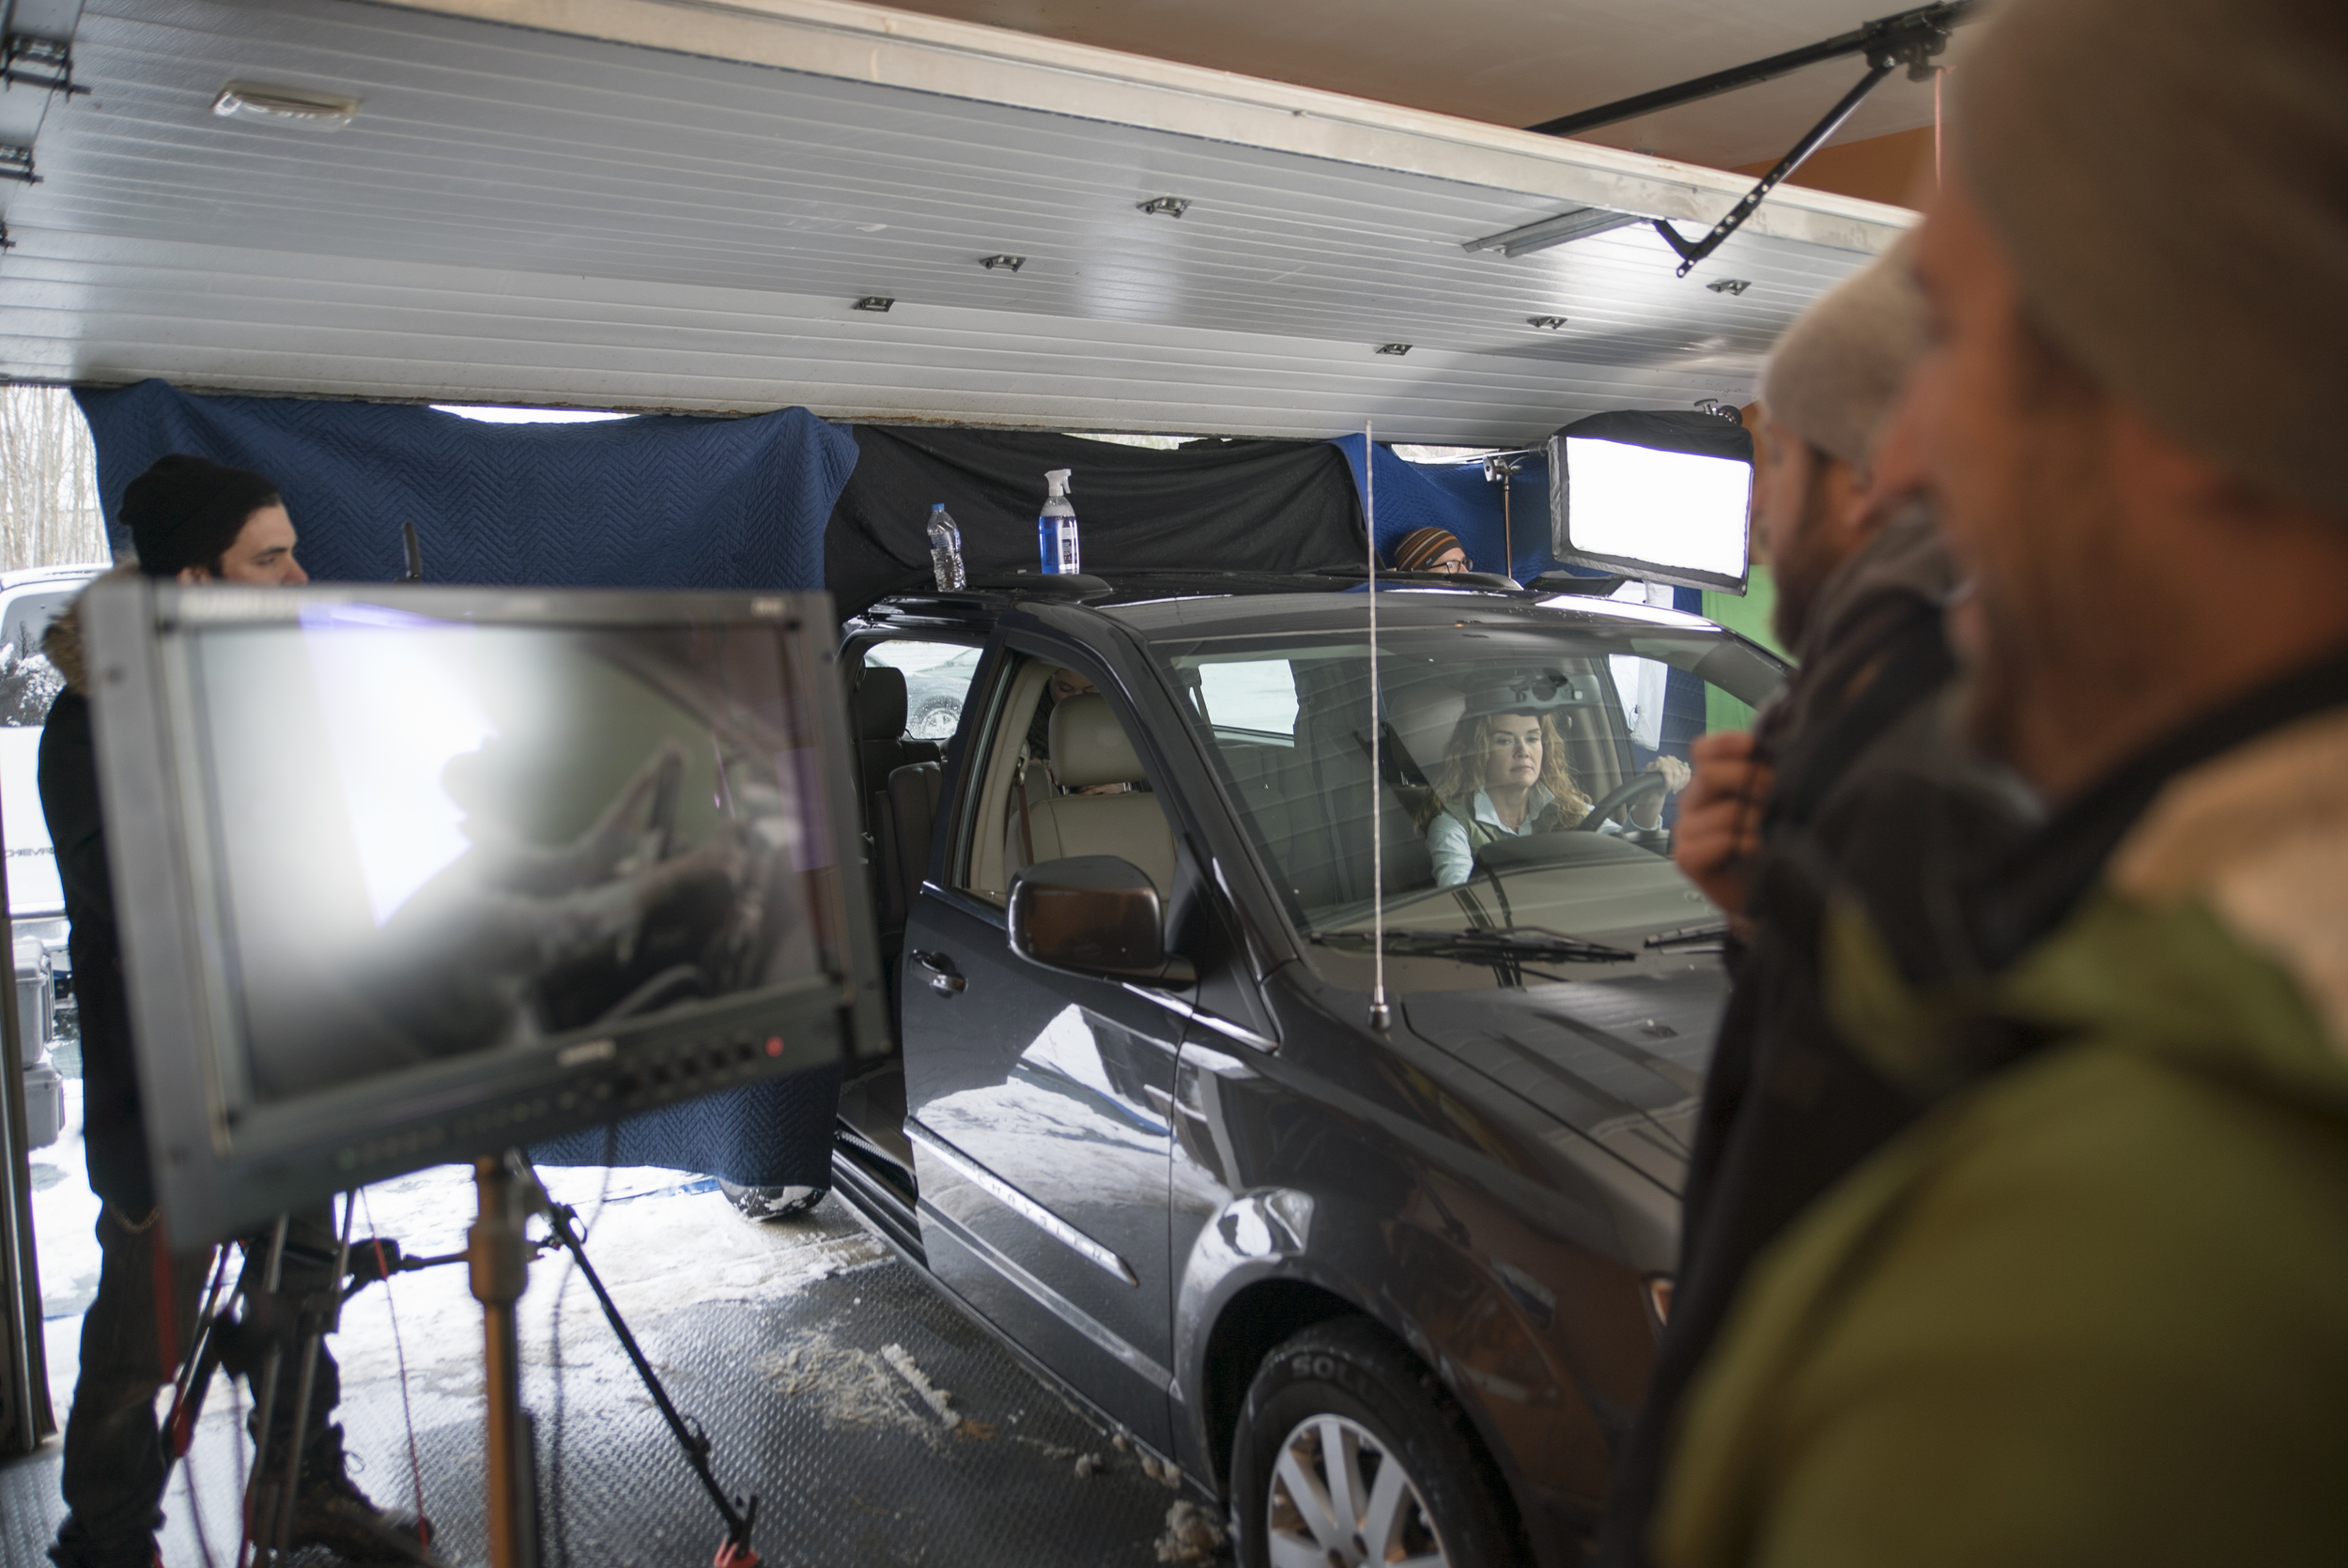
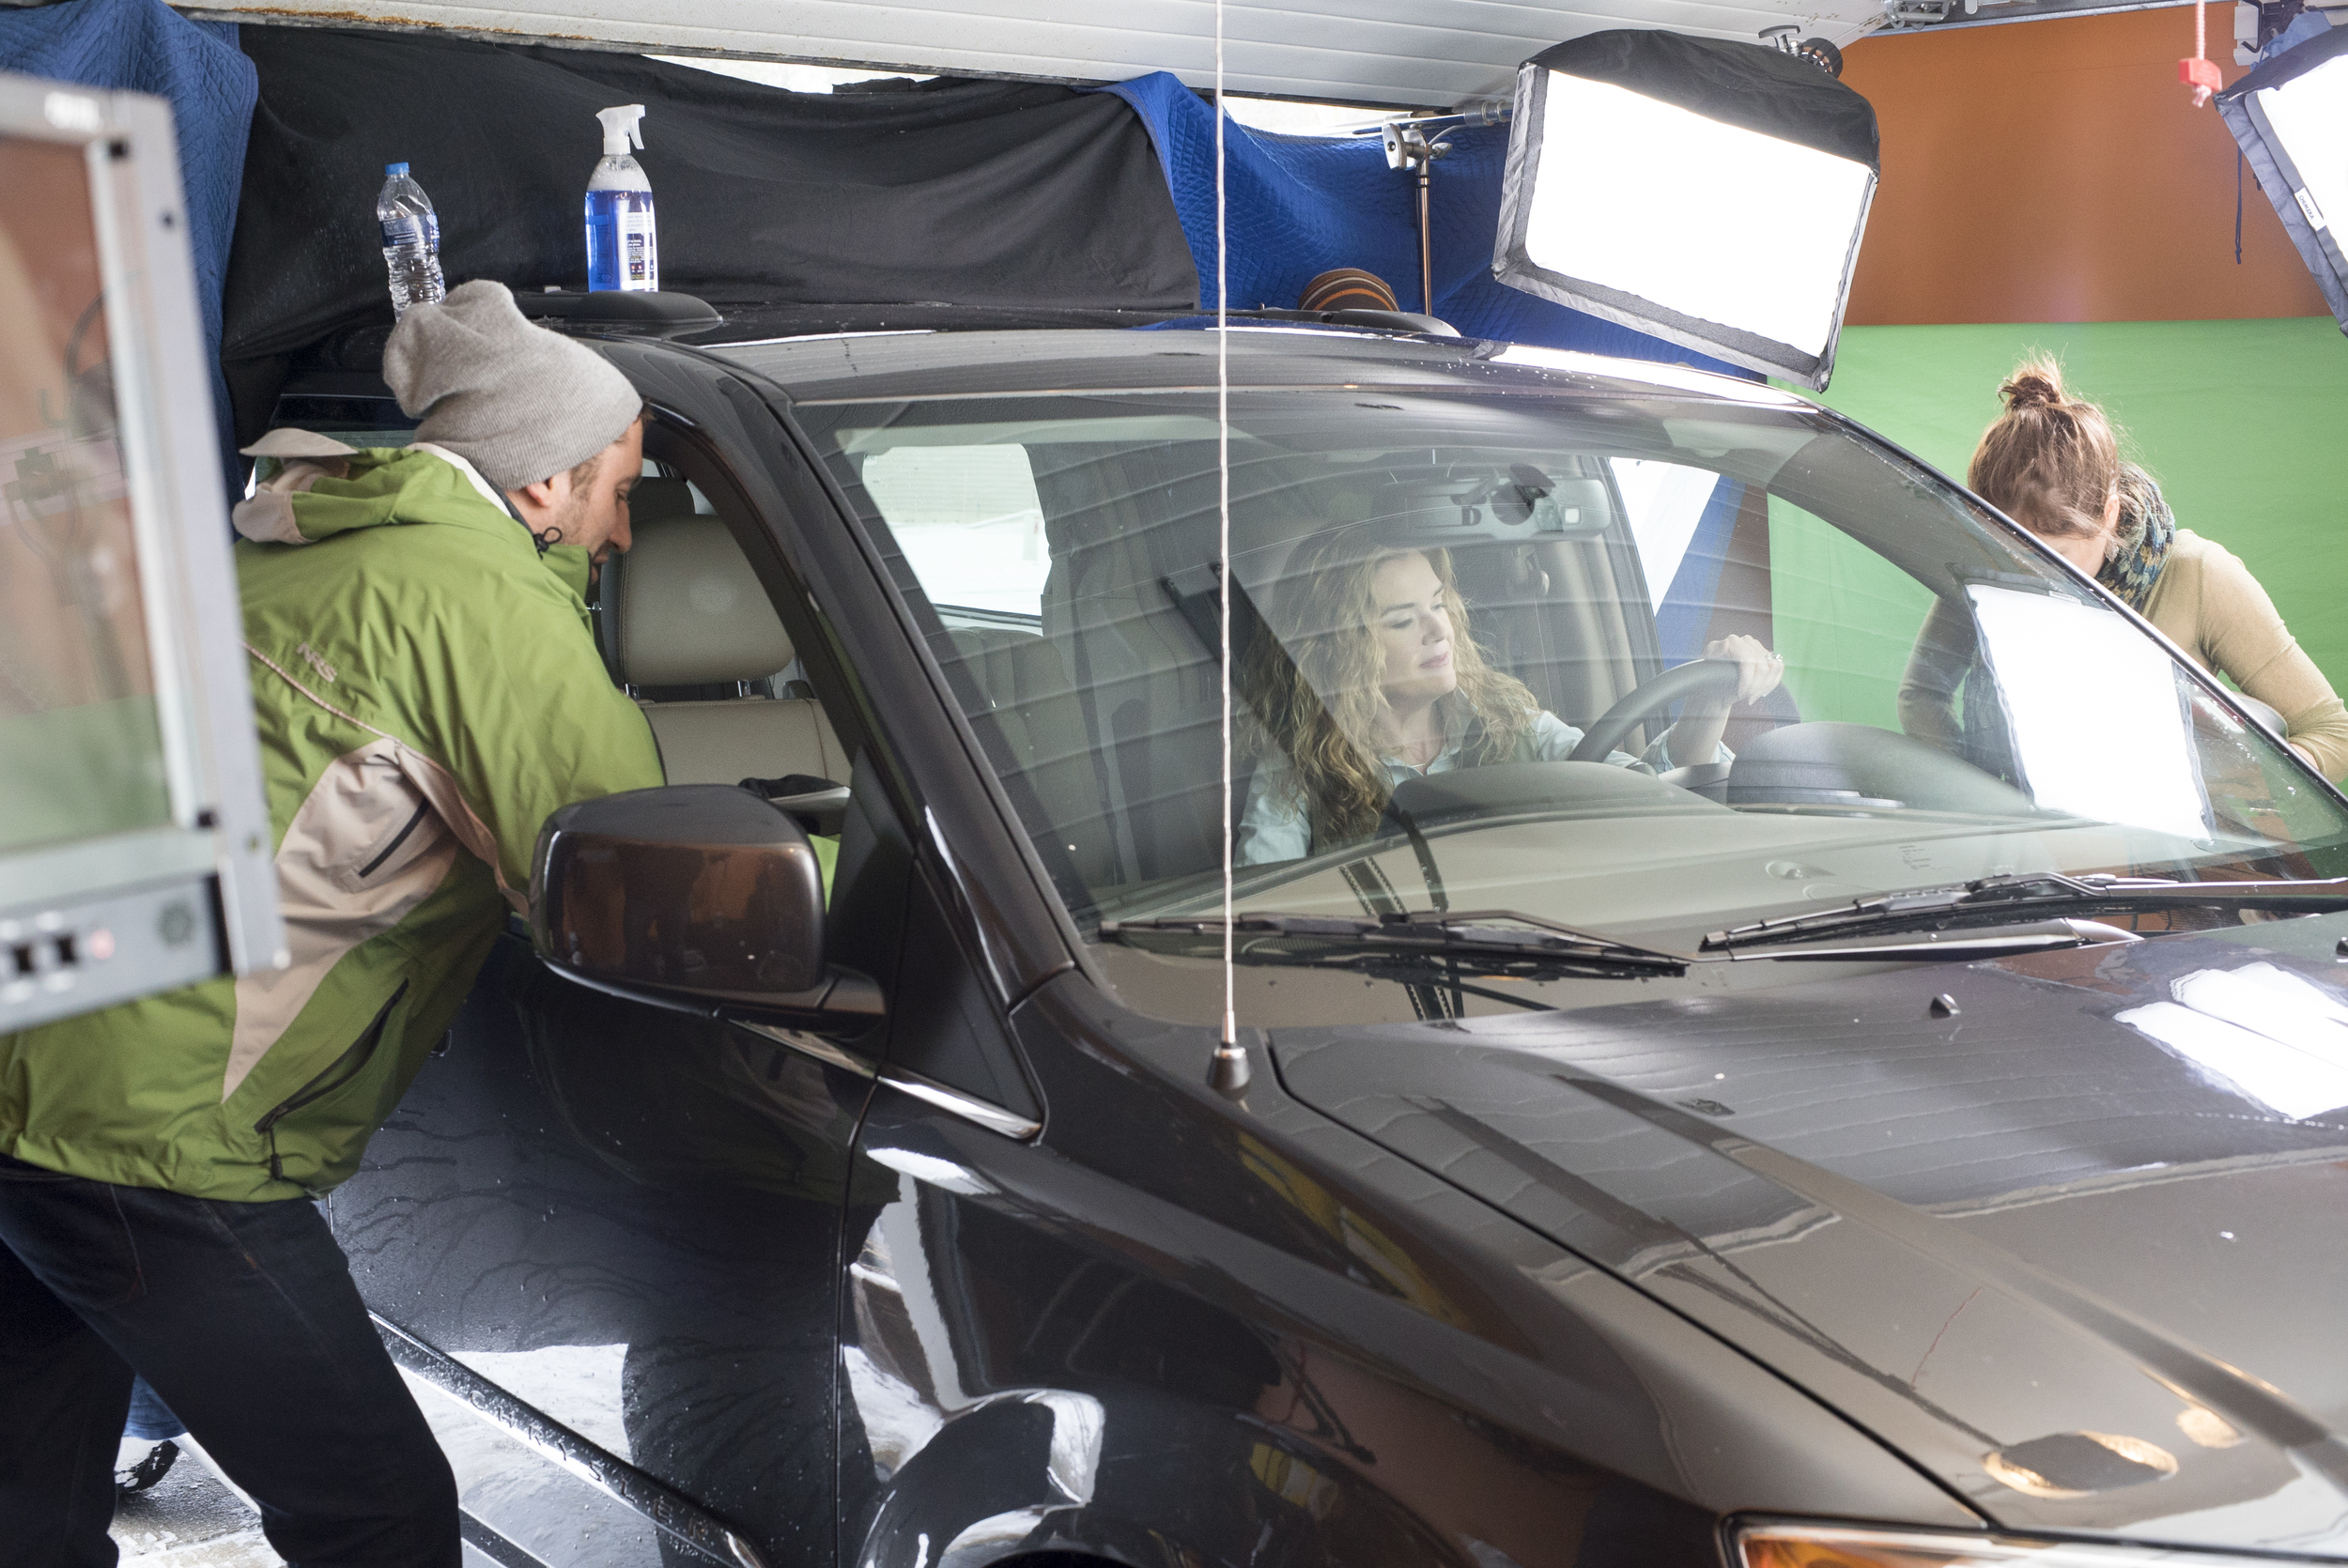
Thanks to the far-sightedness of our crew, and some hoops jumped through by Jamieson Mulholland, Quinn Wilson, and Ryan Kolegas in particular, we were able to make lemonade out of lemons and shoot an entire Green Screen production in a smallish homeowner's garage whilst the Winds of Winter were blowing outside. The talented Colleen O'Neill, our on-camera actor, said it best, "Now that's how you make Sunshine out of a Snowstorm!"
4 tips For Shooting & Editing green screen in a non-studio environment
1. The Key to Green Screen IS the "Key"
No matter where you're shooting, how stressed you are on set, or what time-constraints you are under, remember one thing: when it comes to green screen, being able to "key" out whatever is green is most important. If your talent looks great, and their performance is strong, but the background doesn't look believable, you've instantly set them up for ridicule purely by surroundings. Think about it, when a viewer is watching a movie clearly set in a house, they don't even think twice about the surroundings because they are, quite literally, all background to the point you want the viewer to focus on: the believability of the performance. Actors work so hard to make the viewer believe them, but if the green screen key is unbelievable, they have literally no chance to be believable.
2. Fix the Tricky Spots with Masks
As much as you try to make the green screen key perfect on set, sometimes there are trouble spots when you finally bring the footage into post-production. You can alleviate these problems by using masks to cut out parts of the key. This is shown at 00:23 in the video above. You can use masks to either cut out portions of the footage completely or you can use them to apply a different key, such as if one part of the green screen is darker than the rest. Using the right amount of blur and feathering on your masks, you can use them to seamlessly remove your foreground from your green screen.
3. Match the Character Lighting with the Background
Creating a realistic looking shot requires that every part of the scene blends well together. One of the most important aspects to achieve this it to match the lighting and color on the foreground and the background. Both parts of the scene should have the same color temperature so neither looks out of place. If the inside of the car is bright, yellow, and sunny, and the scenery going by outside is a dreary blue then it will immediately be outed as a fake scene. Matching the two elements is key to getting a good key.
4. Add Reality
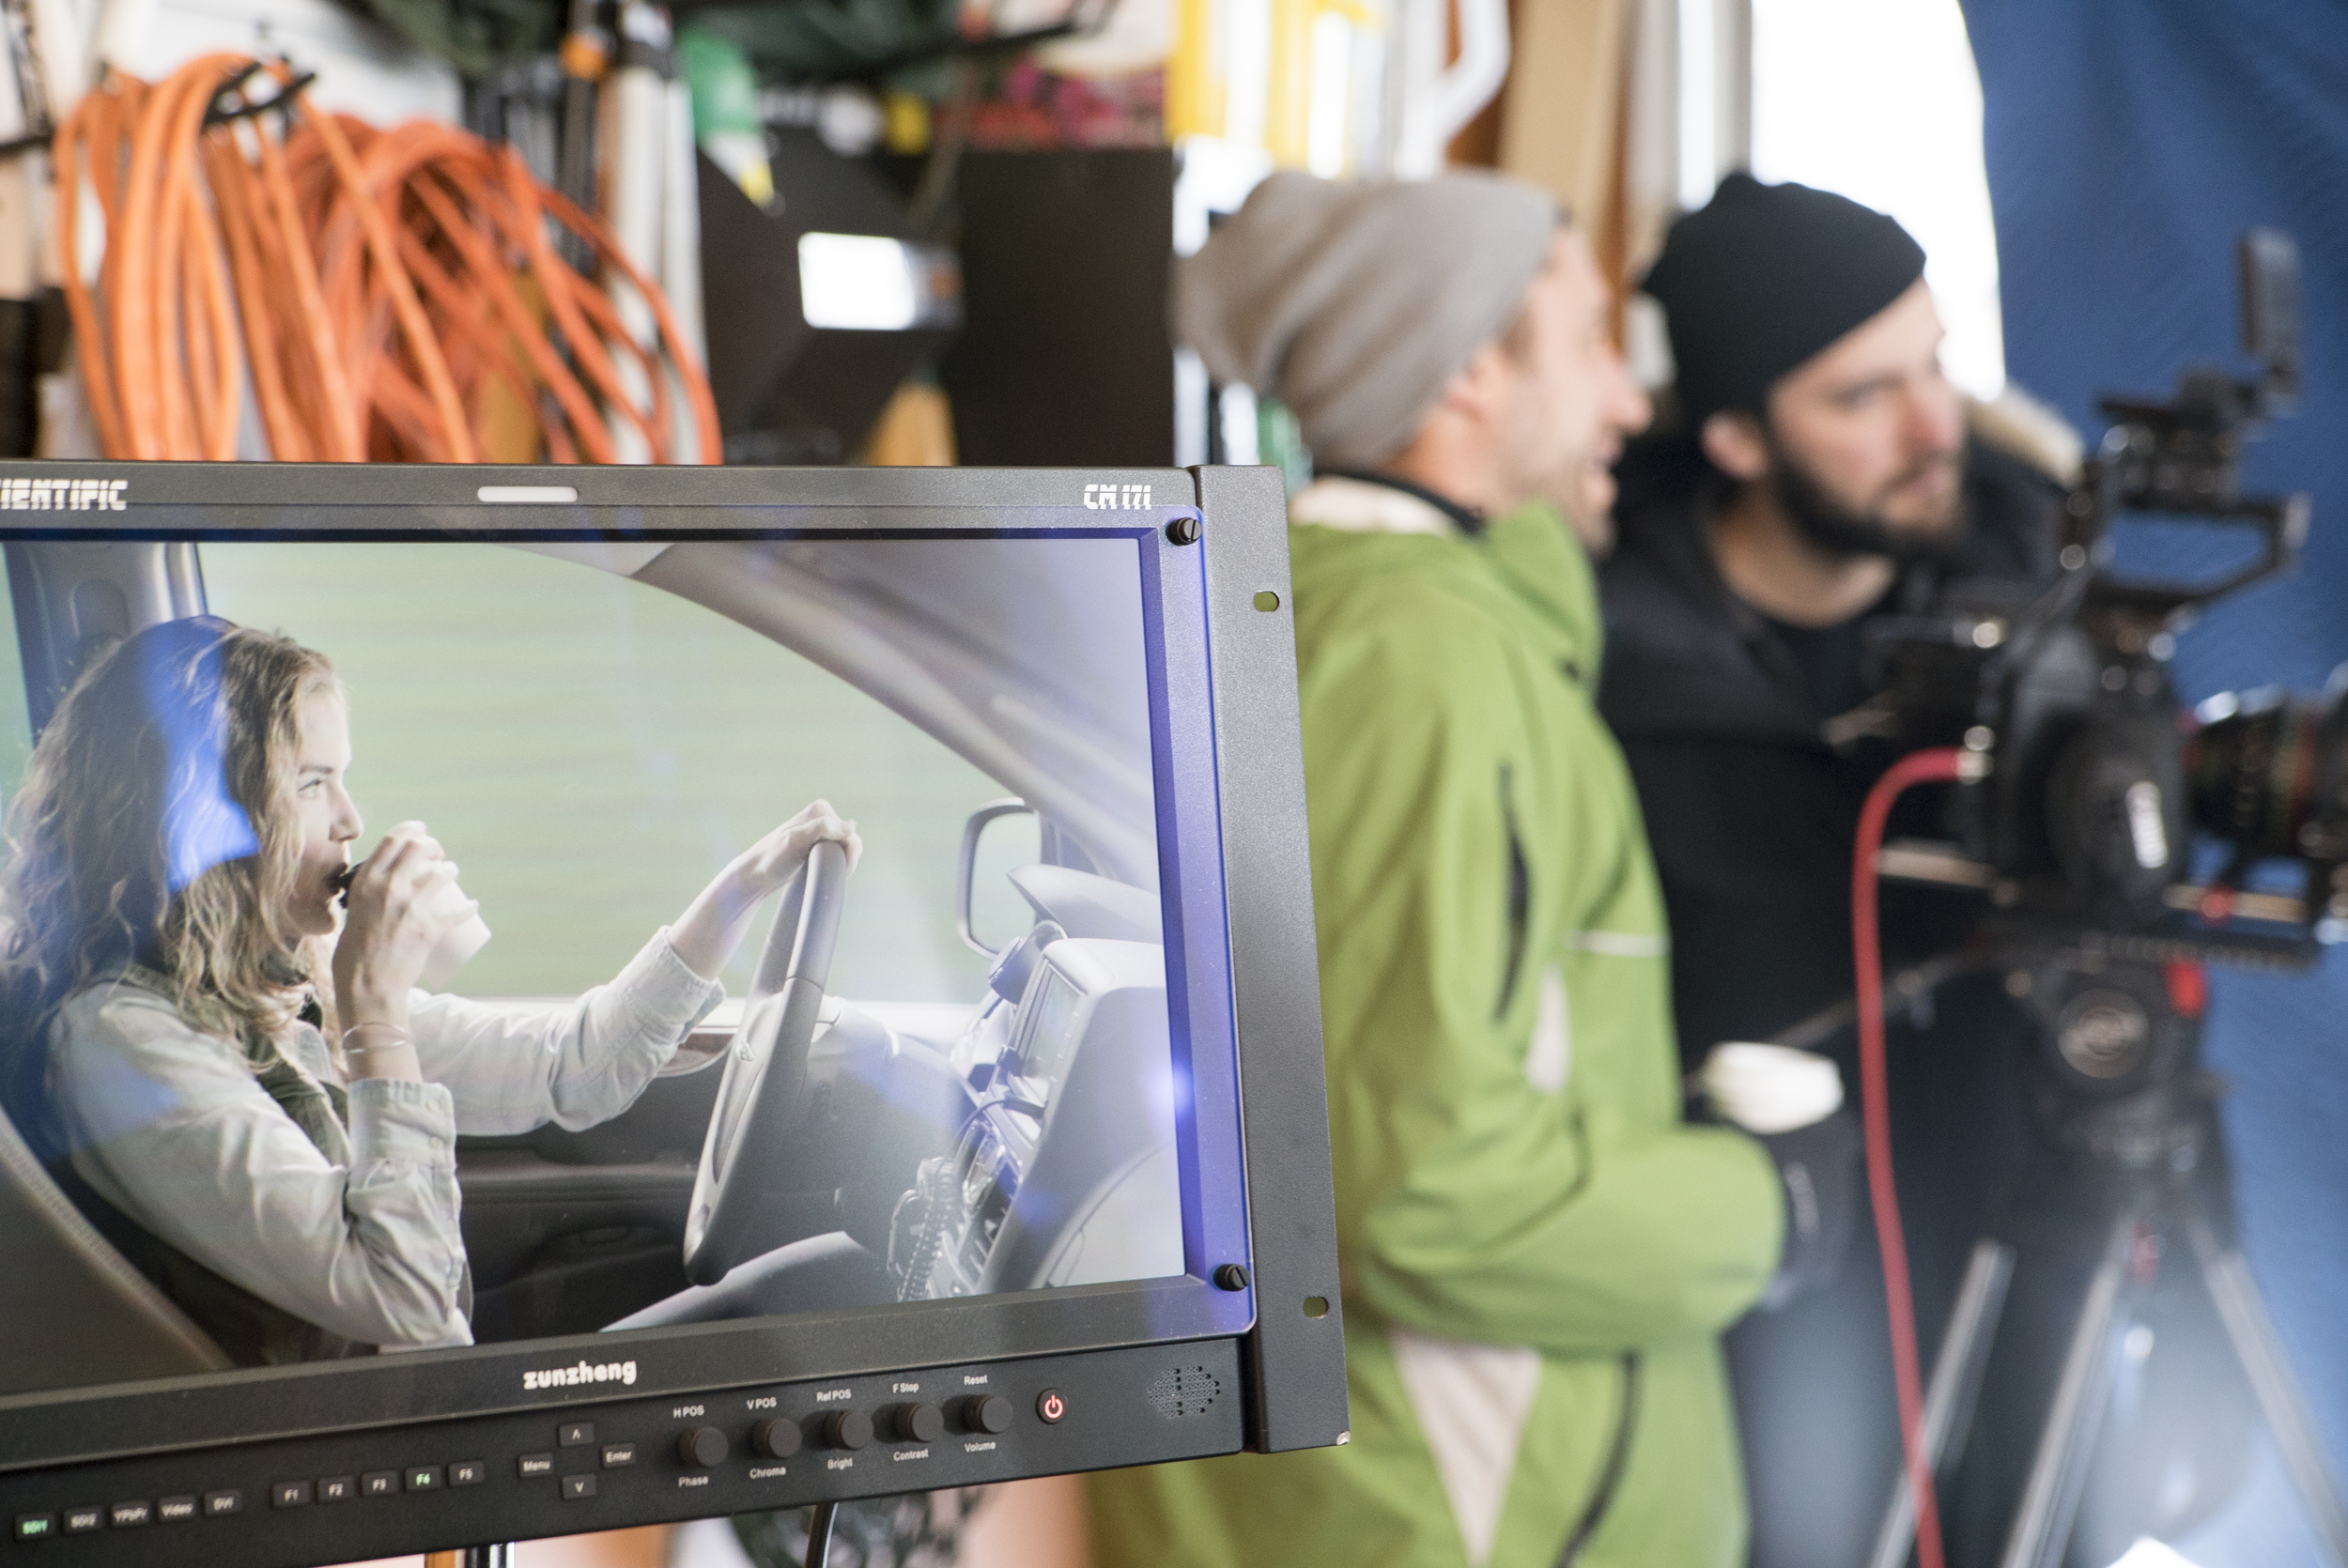
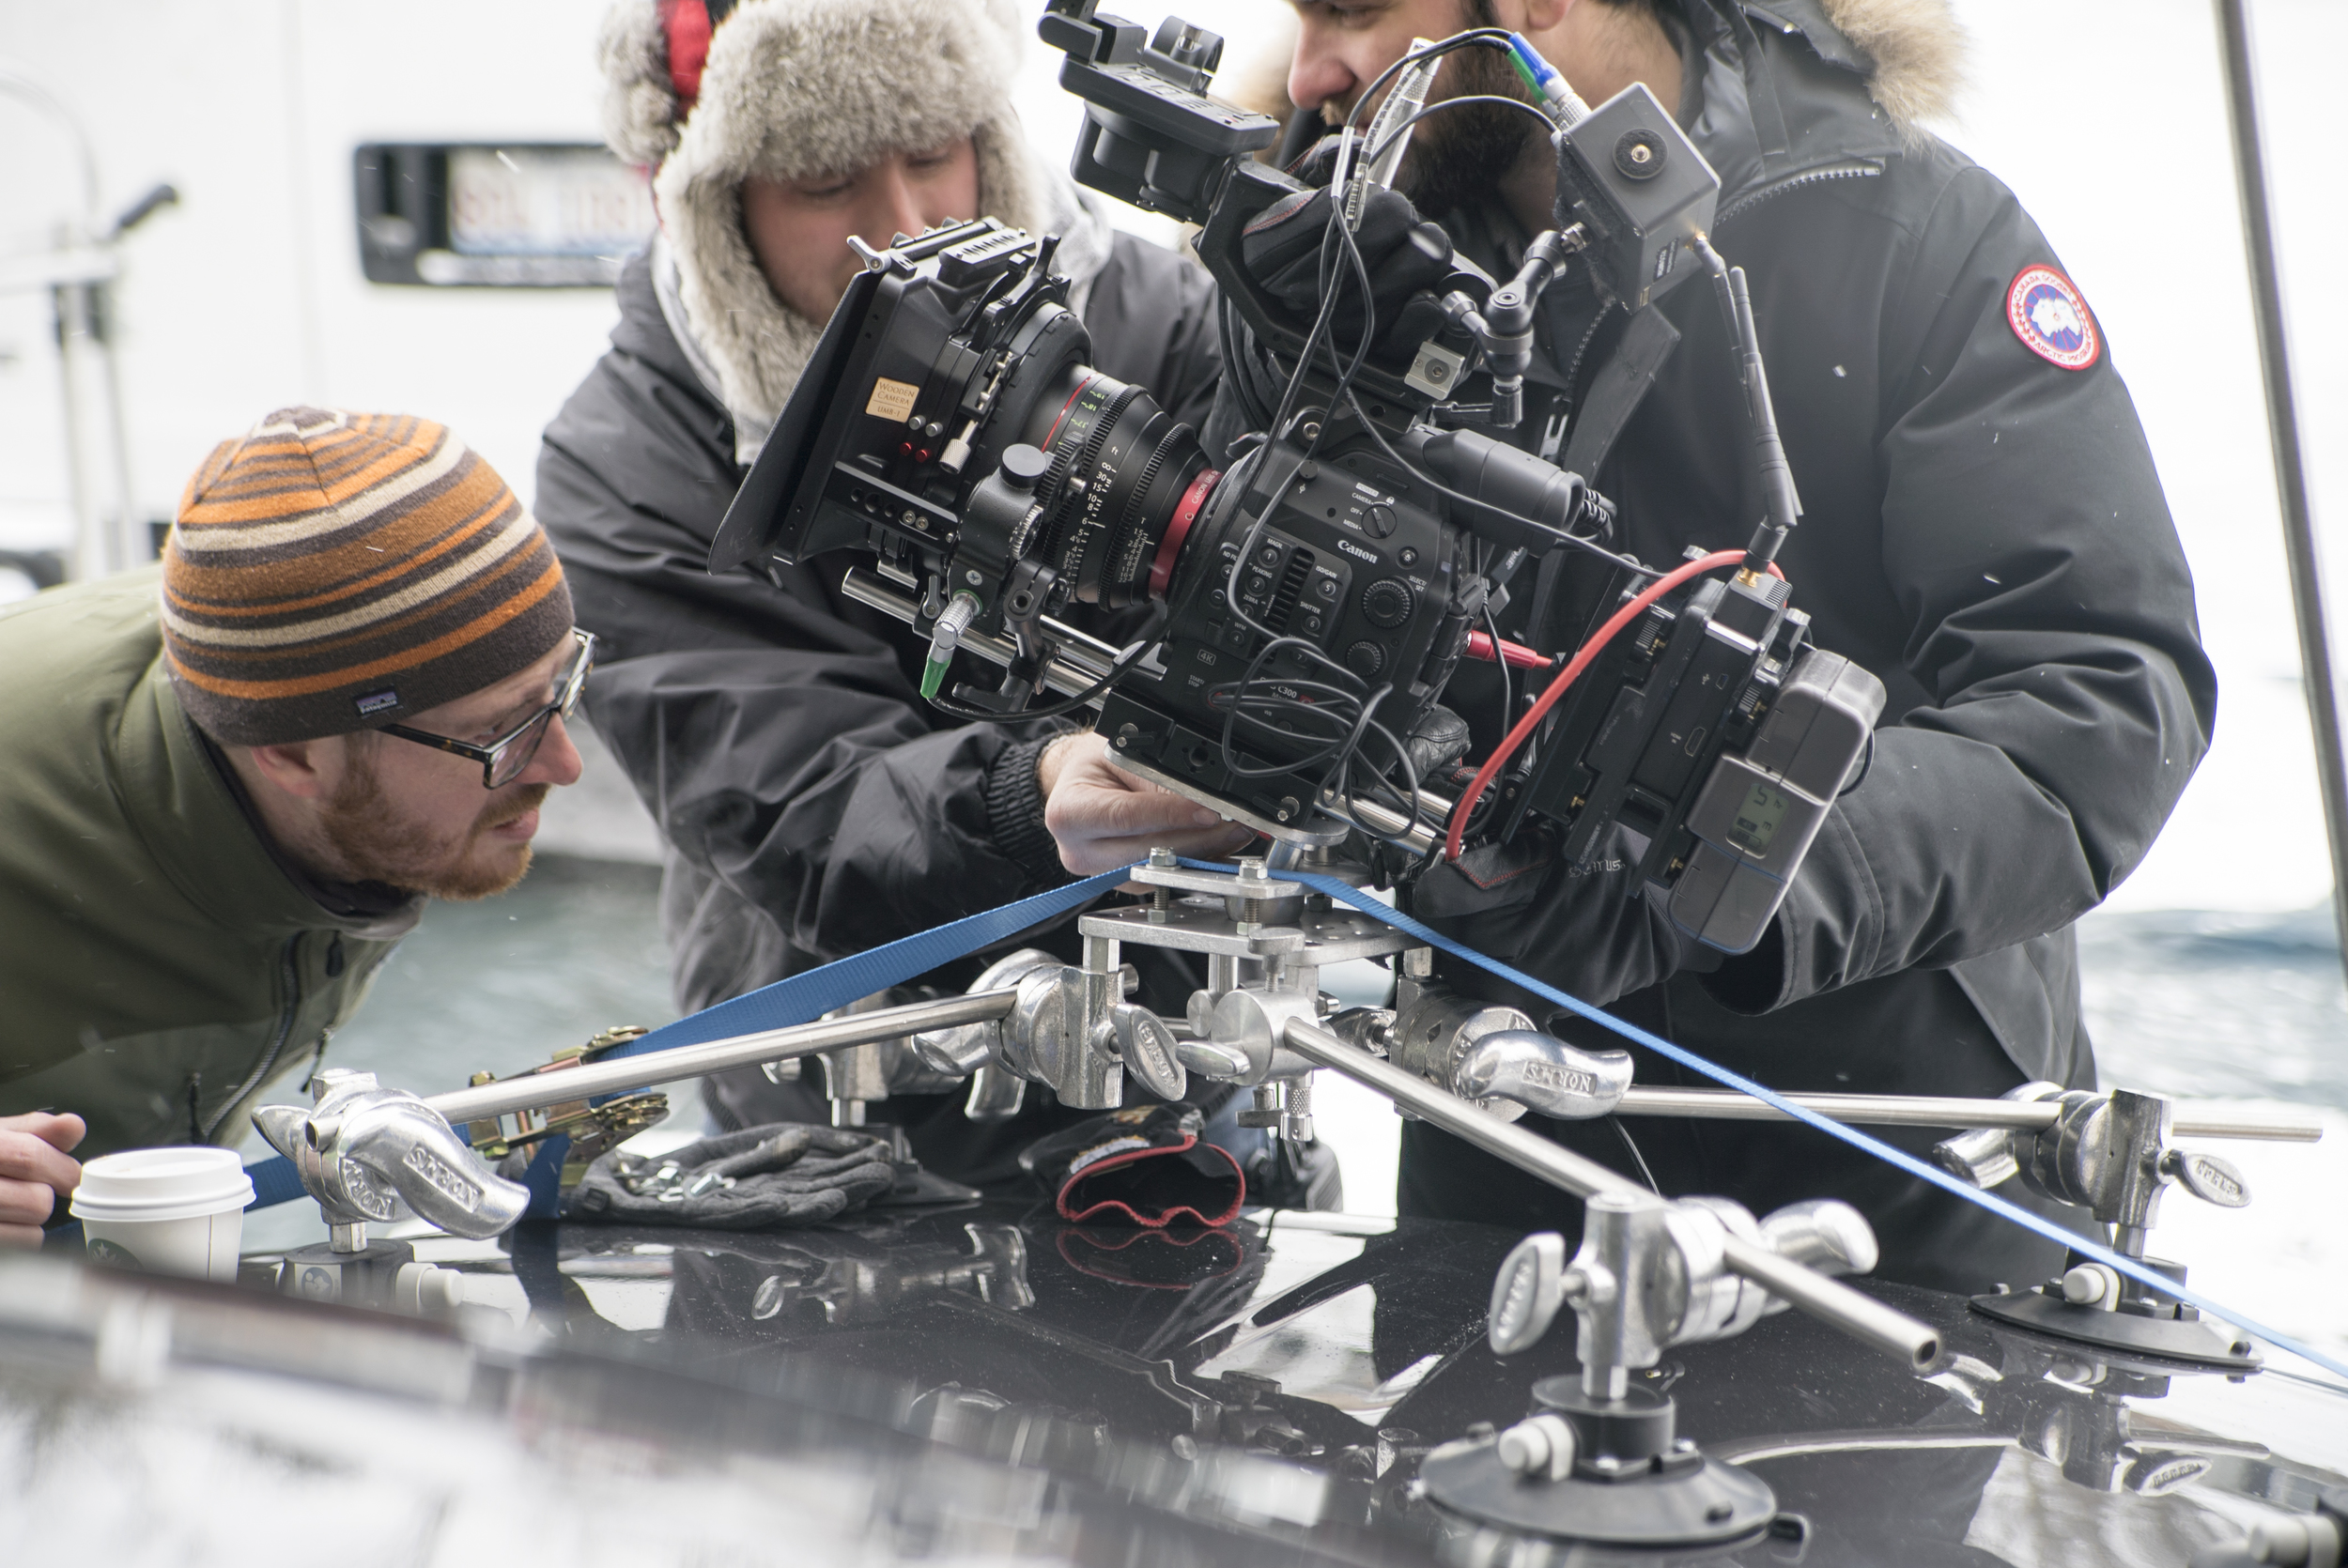
Watch the time-lapse video of our video above. There are two key items we added that really 'sell' the idea of reality. The first is a subtle shake of the camera to mimic a car driving down a road. The second one, which you may not realize is happening, is at 00:30 seconds in. We used shots from a road looking up at the canopy of trees, power lines, etc. and made a reflection in the windshield that absolutely sells the idea of reality. All from the not-so-cavernous space of the garage studio! Check out pictures below to see how it happened behind the scenes!
“No matter where you’re shooting, how stressed you are on set, or what time-constraints you are under, remember one thing: when it comes to green screen, being able to “key” out whatever is green is most important.”

